

Hello folks!
We all are using social media and have used various AR Filters which are available on Facebook and Instagram. Well, what if I tell you that we can create our own AR Filter and publish it so that everyone can use it.
This blog post will go through all the steps needed to create a simple AR Filter.
Step 1: Install SparkAR Studio and SparkAR player
Spark AR Studio: Spark AR Studio is the place where we will be creating the effect
Spark AR Player: Spark AR Player is the place where we will be testing our effect (Android and iOS)
Step 2: Keep your assets ready
I recommend that all the images you want in your effect must be ready in one folder so that it will be easy to just add those images as material later.
You can create the assets with the help of:
- Photoshop
- AR Library
- Canva
- Any editing app you wish to use
Step 3: Open Spark AR studio
Create a blank project
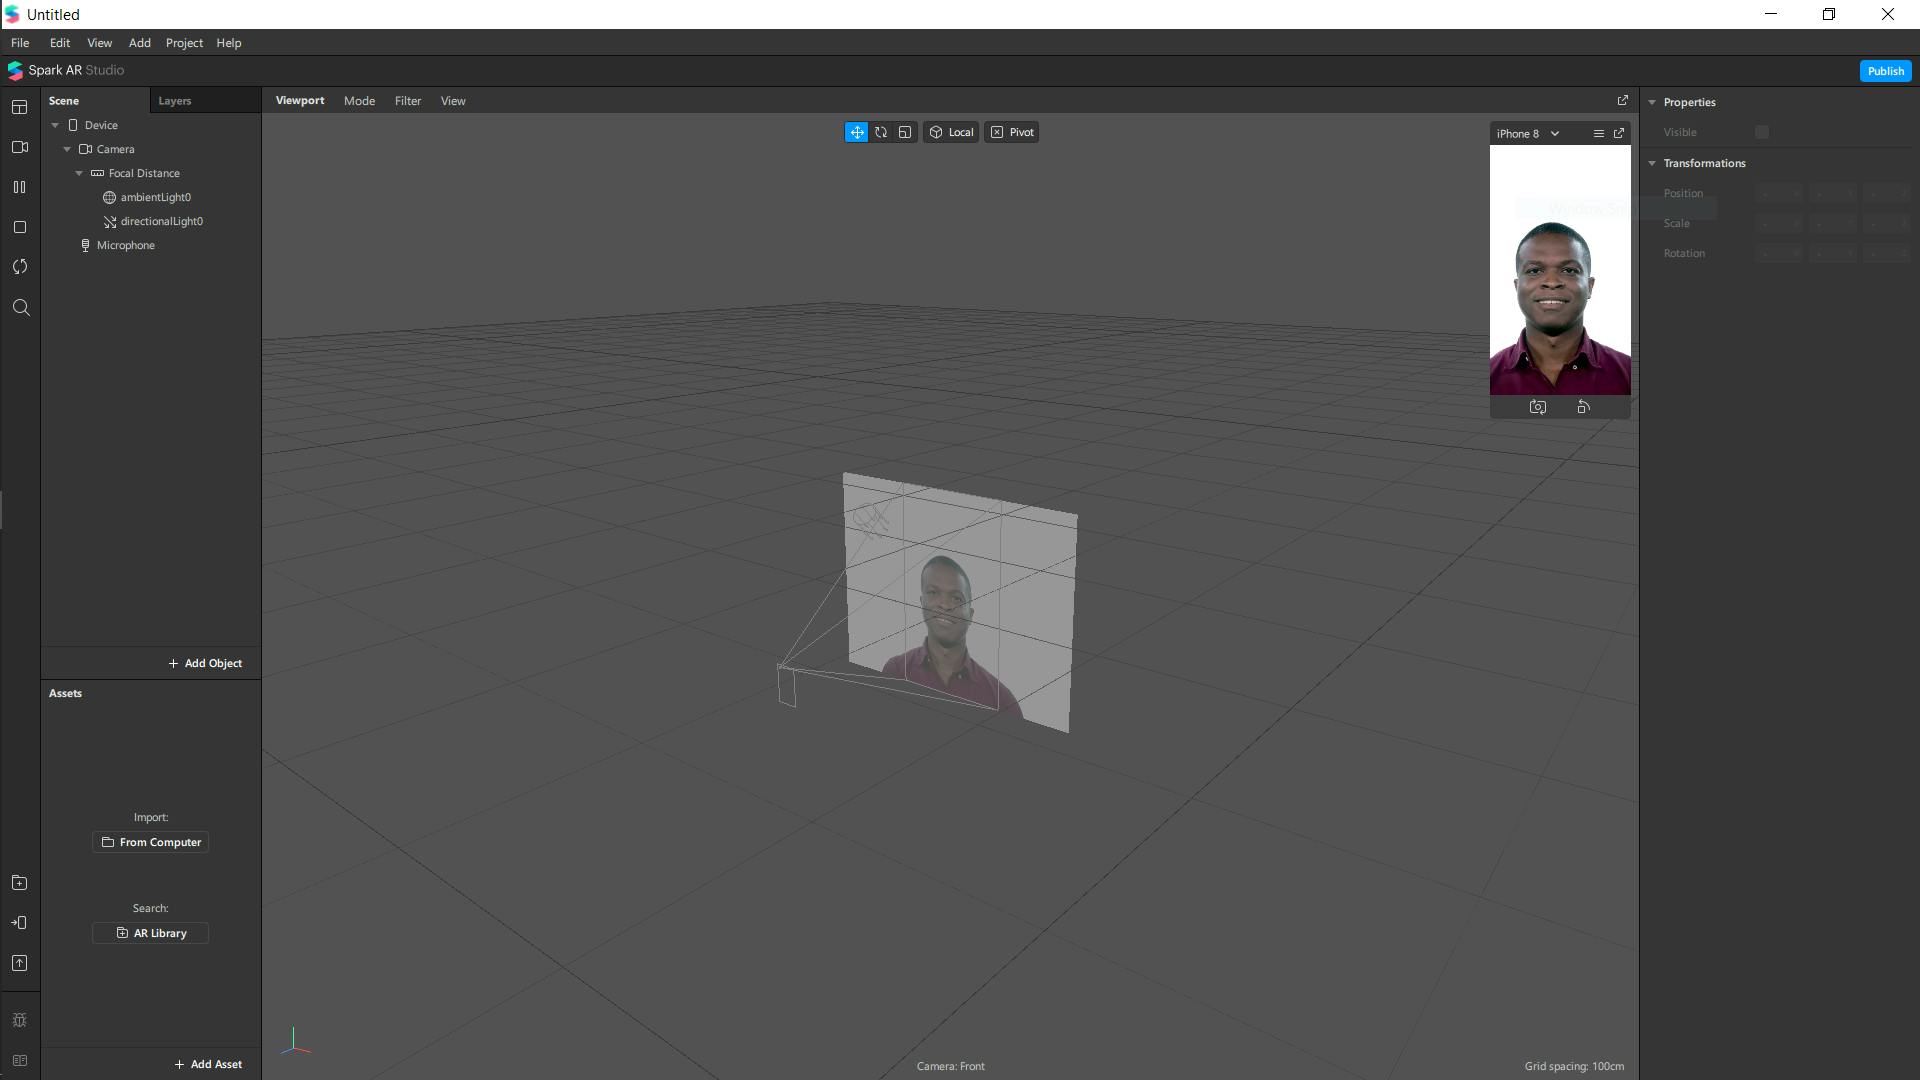
This is how our working environment looks like.
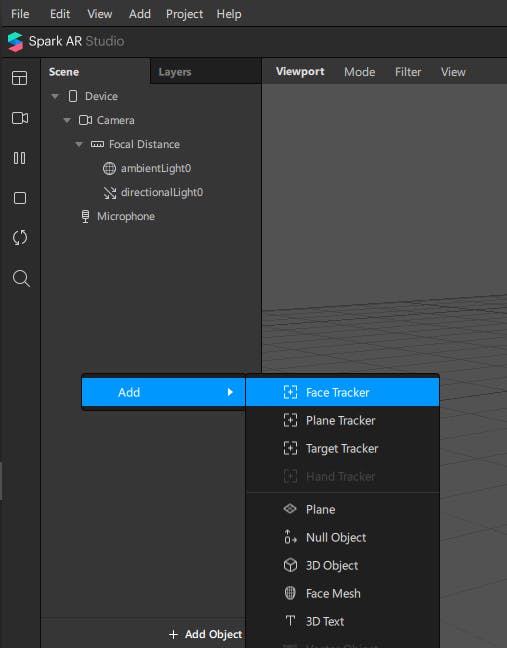
Step 4: Add a face tracker
By adding a Face Tracker to your effect you can track the face movement of the user.
- Right-click in the scene panel and add a Face tracker.
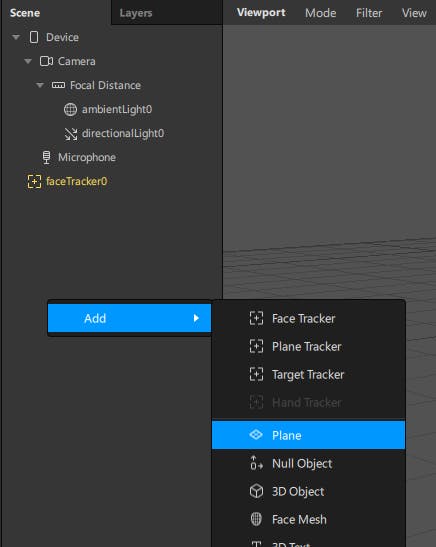
Step 5: Add planes
- Once again right-click in the scenes panel and add a plane to your project.
- And drag it under the face-tracker. This will sync the plane with your face movement.
Step 6: Add material to the plane.
- Click on the plane in the scenes panel
- Now add material to your plane. (on the right side).
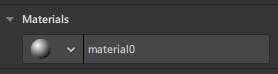
Try to rename the materials such that you will be able to understand them later.
Step 7: Adding texture to the material.
- On the right side you will be able to see the texture.
- Select your assets from the drop-down or by choosing the file.

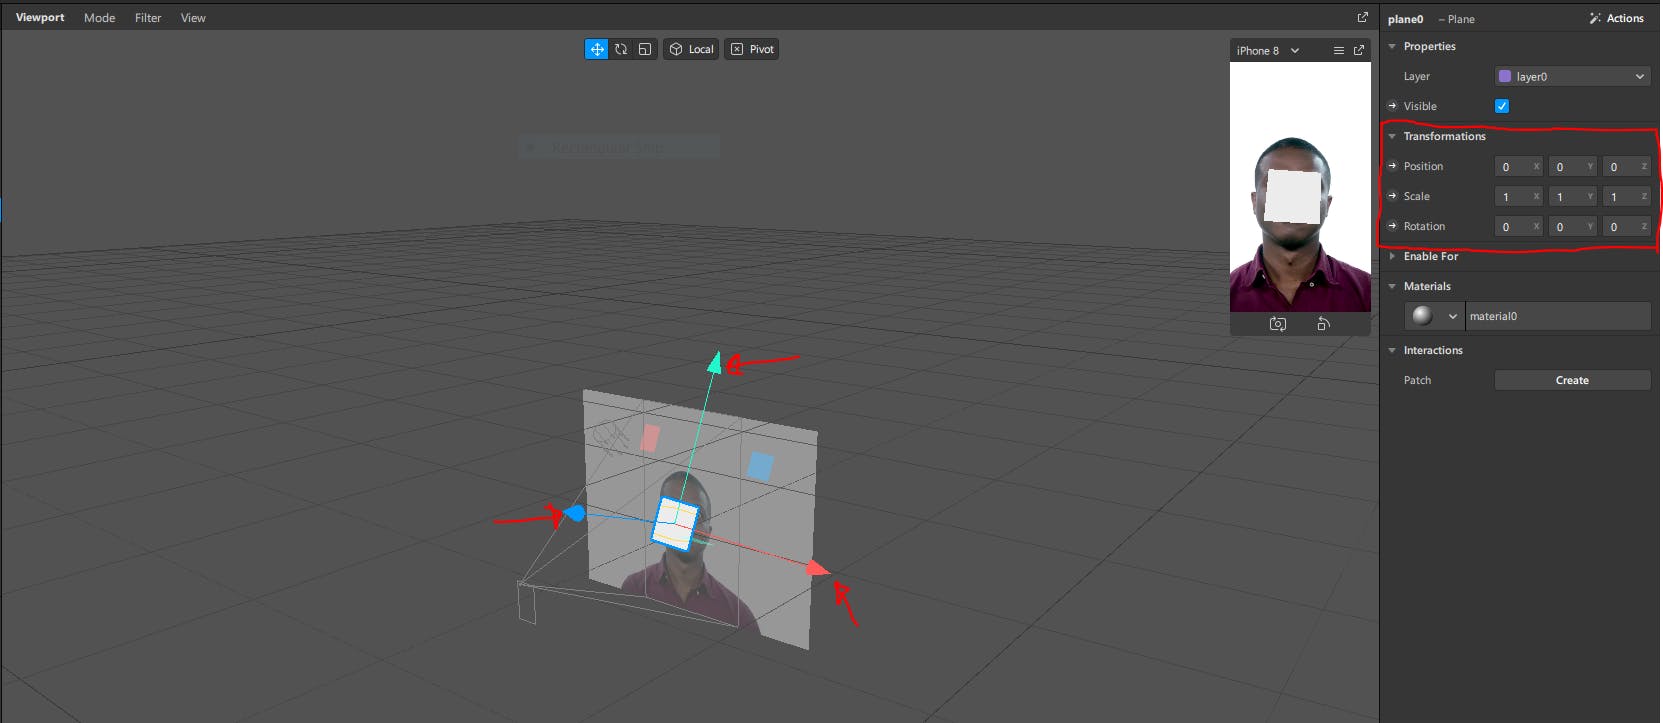
Step 8: Adjustments
- You can adjust the position of the plane by playing around with the x, y, and z axes.
- You can also perform image transformations by changing the values.
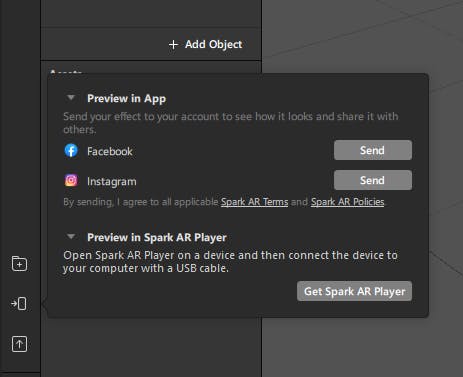
Step 9: Testing
- Now, we are ready with our filter and it's time for testing.
- You can test it using Spark AR Player.
Step 10: Publish your effect
- Now it's time for the world to use your AR Filter.
- Click on the Publish button.
- You have to provide the required details for publishing the filter and you're done from your side.
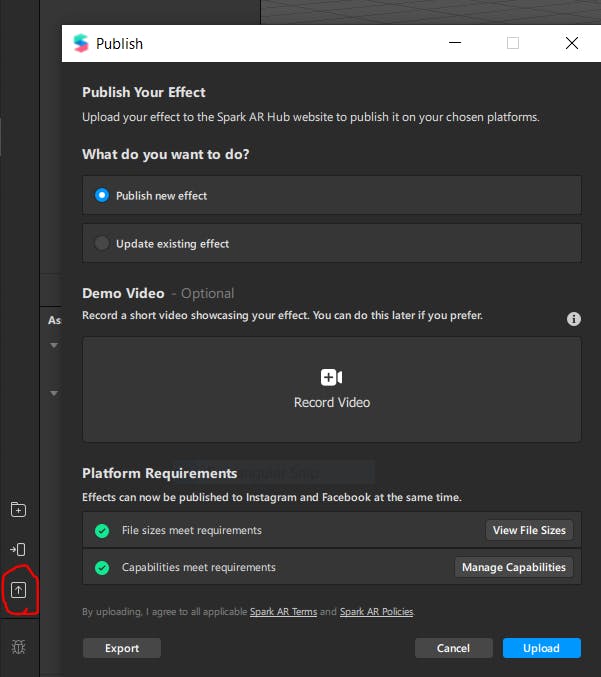
Note: Keep a small AR Filter demo video and also a logo for your AR Filter ready before clicking the Publish button